

You need a landscape page in your Word document to either fit in a large table or image, or for any other reason.
How to insert a landscape page in Word
First add a Section Break
First insert a Section Break by going to the ribbon and finding the “Breaks” option. Then Click on Section Break > Next Page.
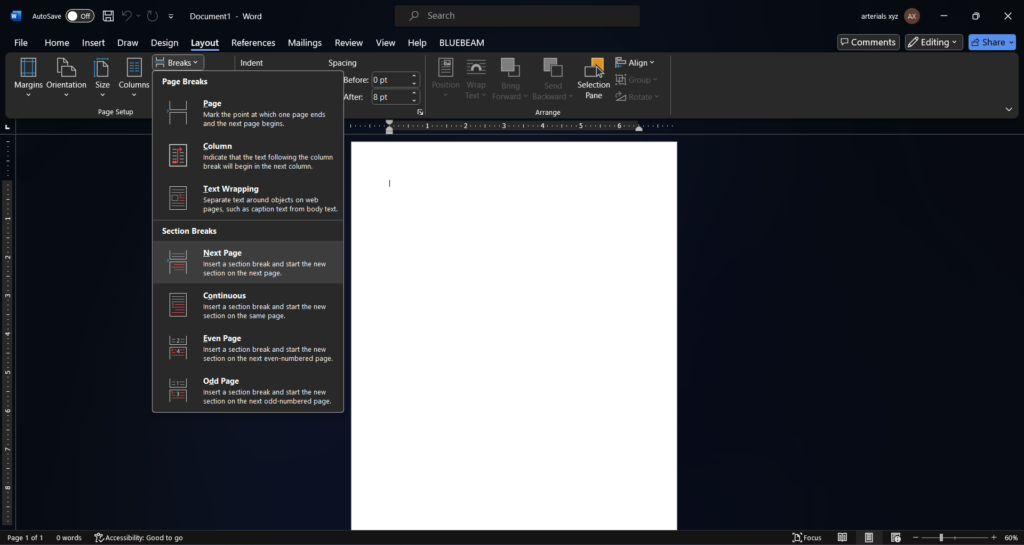
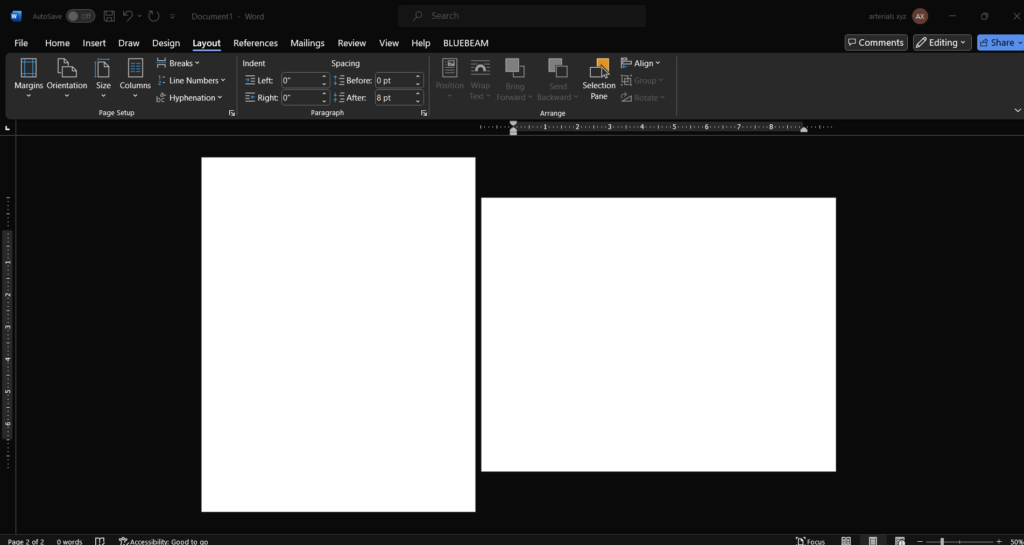
You will notice a new page appears where you added the break. Now your document has two sections.
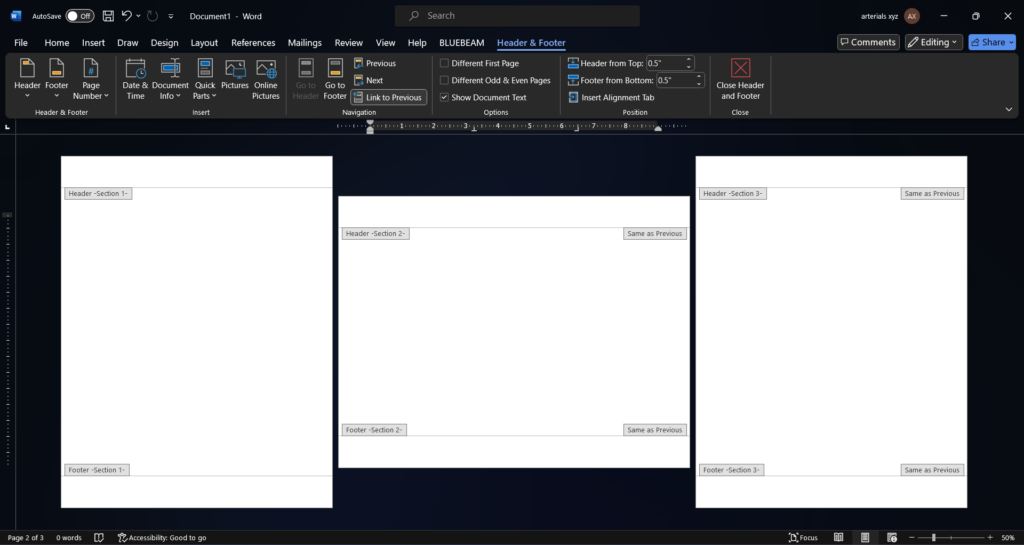
If you double click in the header or the footer area, notice how it says Section 1 and Section 2.

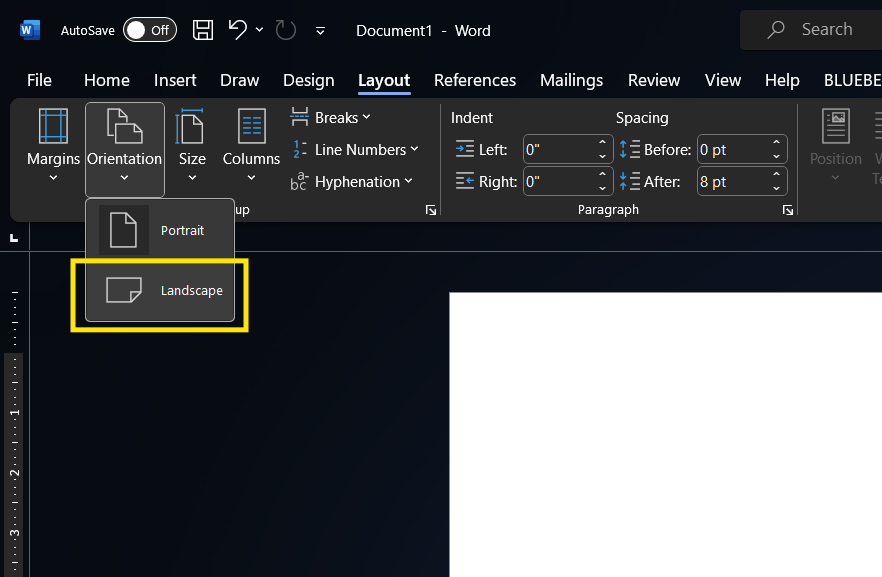
Change Page orientation
Next, move your cursor to the body of Section 2 and again go to Layout. Now click on Page Orientation and Select Landscape.
Now you have a landscape page in Word, but you’re not done yet unless you want the rest of your document to be in Landscape mode.
Continue in Portrait mode after adding a landscape page
Press Enter to have an empty line on your landscape page. Then again insert a section break following the same layout > Breaks > Section Break > Next page Procedure. A new landscape page will appear which will be Section 3.
Move your cursor to the page in Section 3 and click on Layout, orientation, portrait. Now you are back to being in portrait mode.
All the pages in the previous section will remain in landscape.
Leave a Reply